Why?
I recently ported my blog to the 11ty static site generator. It went well.
On the other hand, I hadn't used my old hosting provider, Netlify, in a long time. Everything went pretty well setting up 11ty on Netlify so my problem isn't really with the quality of the service in that regard.
However, after doing some research, I found that Netlify has a reputation for poor customer support. It's possible I could have a massive bill dropped on my head with very little support from Netlify.
I looked for alternatives and landed on Cloudflare pages. So far, everything has worked flawlessly, and Cloudflare's free plan is arguably more generous than Netlify’s paid plan.
How?
I created an account on Cloudflare, navigated to the 'Workers & Pages' section, and set up a new page.
It wasn't exactly that simple, though. I had to point it to the correct repo and specify the static output directory plus set the build command.
Then again, maybe it was that simple.
About
This project is a basic command-line program that loads and runs chip-8 ROM files.
Take a look at the Github Repo or a
Demonstration on Youtube.
I am looking for work! Check my contacts.
The Project
I started this project to become more familiar with Rust.
Previously, I went through the nand2tetris course, where you build a simple computer from the ground up, starting with NAND gates and ultimately running Tetris on your own custom-built operating system.
I thoroughly enjoyed that course but didn't explore low-level programming or architecture further, as my focus shifted primarily to web development. Now, however, I'm returning to this domain, and the Chip-8 specification seemed like a perfect starting point.
Using Cowgod's technical reference along with a handful of other sources, I began the project. Rust made certain aspects straightforward, especially with tools like pattern matching, though some parts felt unintuitive—and still do. I'm fairly confident that continuing to use the language for larger and more complex projects is the best way to overcome that initial discomfort.
- Multithreading and concurrency still pose a bit of a challenge. I hadn't designed concurrent systems since school, but Rust simplifies much of this complexity.
- I ended up utilizing three threads: one for the display, another for the sound, and the last for the CPU itself.
- minifb allowed me to easily create a window and display a pixel buffer.
- Coming from web development, displaying graphics in a native window was unfamiliar territory. My comfort zone has always been HTML/CSS/JavaScript within a web browser, and this project required a completely different approach. Rust has more sophisticated UI frameworks available, but I intentionally chose something simpler and more barebones.
- Sound proved particularly challenging. To be honest, it's still somewhat unclear to me. I incorporated the tinyaudio crate and adapted some example code to make it work.
Structuring the CPU was relatively straightforward and closely mirrored the technical specification. My main objective was to write idiomatic Rust code. I'm not entirely sure I've achieved that high standard, but it was a priority throughout the development process.
Built With
Running the Emulator
Clone or download the repository and follow the instructions below.
Prerequisites
This program was written in rust and requires cargo to build.
Installation
cargo install
Controls
The original Chip-8 keypad has been mapped to the following keys on your keyboard:
| Original CHIP-8 |
Emulated CHIP-8 |
| 1 2 3 C |
1 2 3 4 |
| 4 5 6 D |
Q W E R |
| 7 8 9 E |
A S D F |
| A 0 B F |
Z X C V |
Controls for Airplane.ch8
The goal is to hit the ground with the payload without hitting any of the planes below.
Controls for Cave.ch8
V starts and resets the game.2 is upQ is leftE is rightS id down
The goal is to reach the end without hitting the walls.
Usage
To play a game, run the following command from the root directory
cargo run .\roms\games\Airplane.ch8
or:
cargo run .\roms\games\Cave.ch8
Tests
To see unit test output run:
cargo test
or try one of the test roms:
cargo run .\roms\test\test_opcode.ch8
Contact
Micheal Earl
@m-earl.bsky.social
LinkedIn
Email: [email protected]
Acknowledgments
- Corax98 for the test_opcode.ch8 rom
- Cowgod for his Chip-8 technical reference
- kripod for his chip8-roms repo where I found Airplane.ch8 and Cave.ch8
Why?
I was using Hugo before 11ty and I remember being pretty happy with it. The problem is: once two
years have passed, I can't remember a whole lot about how the site was put together.
Additionally, Hugo has a bit too many bells and whistles for me.
Enter 11ty. 11ty is very straightforward to use. I'm writing mostly my own html and css, and not
having to fiddle with things too much. Everything just sort of works and it stays simple
How?
I just peeked at the 11ty docs and updated the repo that netlify pulls from to host my site. It was
actually pretty easy to do and netlify still works great.
Design
I'm no incredible designer, but I really like the new look of the blog. Since I didn't have to
fiddle around with any templates, it was much easier to get things to look the way I wanted them to.
Everything is just plain old html/css.
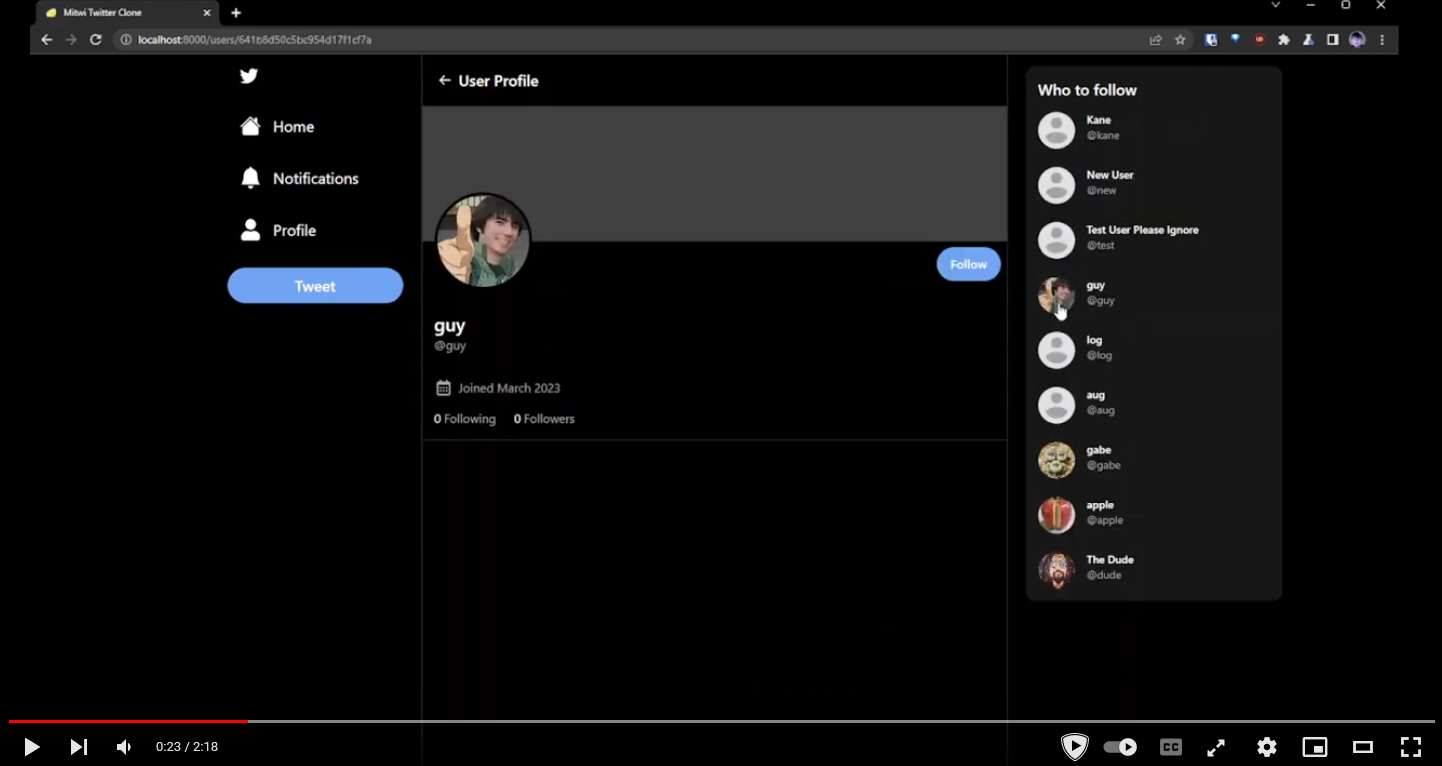
About
I've been working at this little web app for a bit over a week and thought I'd share what I've
discovered.
PS: I'm looking for work!
Contact me on Linkedin
The Project
Check out a video demo!
I decided to undertake this project because I wanted to prove to myself and
possible employers that I can quickly adapt to new tech stacks and create
working prototypes.
Ultimately, I think I accomplished that goal.
Unfortunately, I failed to see just how detrimental some of the choices I was
making would be when actually creating a working web app.
Here's why:
- Deno is an incredible javascript runtime. It even support npm modules.
However, it barely supports npm modules. Many of the things I tried simply did
not work.
- Deno Deploy is an awesome service for deploying your deno based apps.
Unfortunately, it does not support Deno's
npm: specifier. The feature that
allows you to load commonjs npm modules.
- Because Deno Deploy did not work, and I wanted a live demo of my web app, I
had to spend countless hours researching and testing alternatives. This was
not productive.
- Many Node.js libraries and frameworks that appear to function end up having
issues down the line This meant that I had to redo entire sections of the app
when a specific things suddenly wouldn't work in my Deno environment.
- Database drivers, query builders, and ORM's are still kind of underdeveloped
for the Deno runtime. My initial plan was to use Prisma, but for reasons
stated above, it didn't work out. Instead, I opted for Mongoose. I've never
used MongoDB and still have very little idea how it actually works.
- Preact is awesome, and this project only made me love it even more. The problem
is that when I use a React based library, I am now using it through two
compatability layers: Deno's npm support, and Preacts compat layer.
Of course, even with all of the above roadblocks, I perservered and stubbornly
pushed my way into creating a working web app.
Does this web app scale? Absolutely not. There is no recommendation algorithm
for posts. There is no pagination. I have no idea how to scale a MongoDB
database, but the way I'm interacting with it right now is for sure not going to
scale.
The web app is stateless, and I could load balance between servers without too
much concern, but that's about it.
Is this a good example of a Deno Fresh project? Again, no. This code base is
filled with repeated code, too much interactivity, and not enough thought
towards its architecture. If I were to start over with Deno Fresh and only Deno
based modules, I think I could do a much better job of leveraging Deno's "ship
no javascript by default" approach. As it is now, almost every component is an
island. That's definitely not using Fresh as intended.
Built With
These are the major components of the web app.
- Deno
- Typescript
- Fresh
- Preact
- Twind (A Tailwind clone without a buildstep)
- JWT Auth
- MongoDB with Mongoose
Repo
Project Link:
https://github.com/Micheal-Earl/mitwi
Acknowledgments
When making this project, I heavily referenced "Code with Antonio's" twitter
clone. His clone was made with Node, Next.js, and Prisma.